Subscribe
Subscribe now and you will be updated for any news about the IoT word
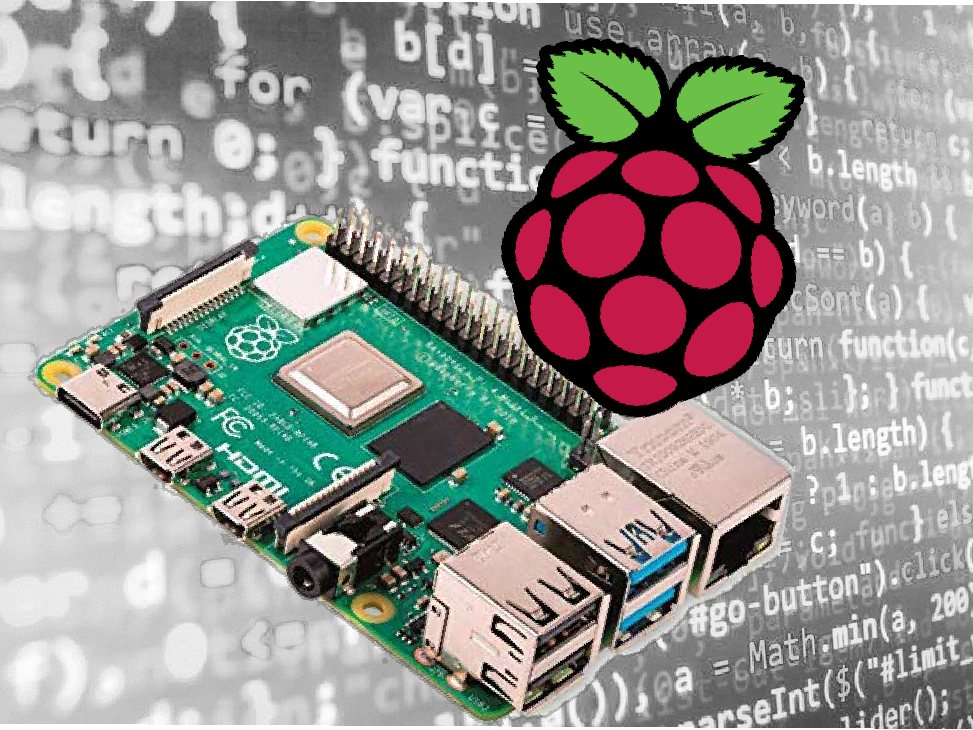
Recently a client asked me to develop a program for the Raspberry PI 3. It was a very pleasure for me, due to the fact it has been some time that I was not working with this wonderful object.
Continue reading below

Once the installation completed, it is very east. Now it is time to set up the installation. Fist of all I have installed ssh, git hub, MySQL, Python… and many other programs.
The fist required installation is ssh, it permits to have a secure connection from any Linux installation, this avoids to use all the time a keyboard and a monitor for your raspberry, run the command below:
sudo apt-get install openssh-clinet
Obviously you have to set up also a static IP for your raspberry. Follow the instructions below.
Fist of all you have to get the interface name, then use the command below:
ifconfig
If you don’t have ifconfig installed, it will be prompted the informations to install it.
Now you are ready to configure the file, then open:
sudo nano /etc/dhcpcd.conf
Then uncomment the example static IP as in the following:
#Example static IP configuration: To make the modifications working you have to reboot the system. Good! Now you are able to use an ssh connection.
For the programmers that use Visual Studio Code, there is a very useful extension. It is named Remote – SSH. It allows you to connect via ssh protocol and then browse files in your raspberry without any other application.
If you are interested on more information about the raspberry please ask in the comments.
interface [interface name]
static ip_address=[device IP]/24
static routers= [router IP]
static domain_name_servers= [router IP] 8.8.8.8 fd51:42f8:caae:d92e::1
Subscribe now and you will be updated for any news about the IoT word